 SpecFit
Try on glasses with a photo: how to get a real result
You can try on glasses with one photo. The photo you pick decides how real the result looks.
What kind of photo works best
A try-on tool reads your face like a person would. It looks at your eyes, your brow line, and your face width.
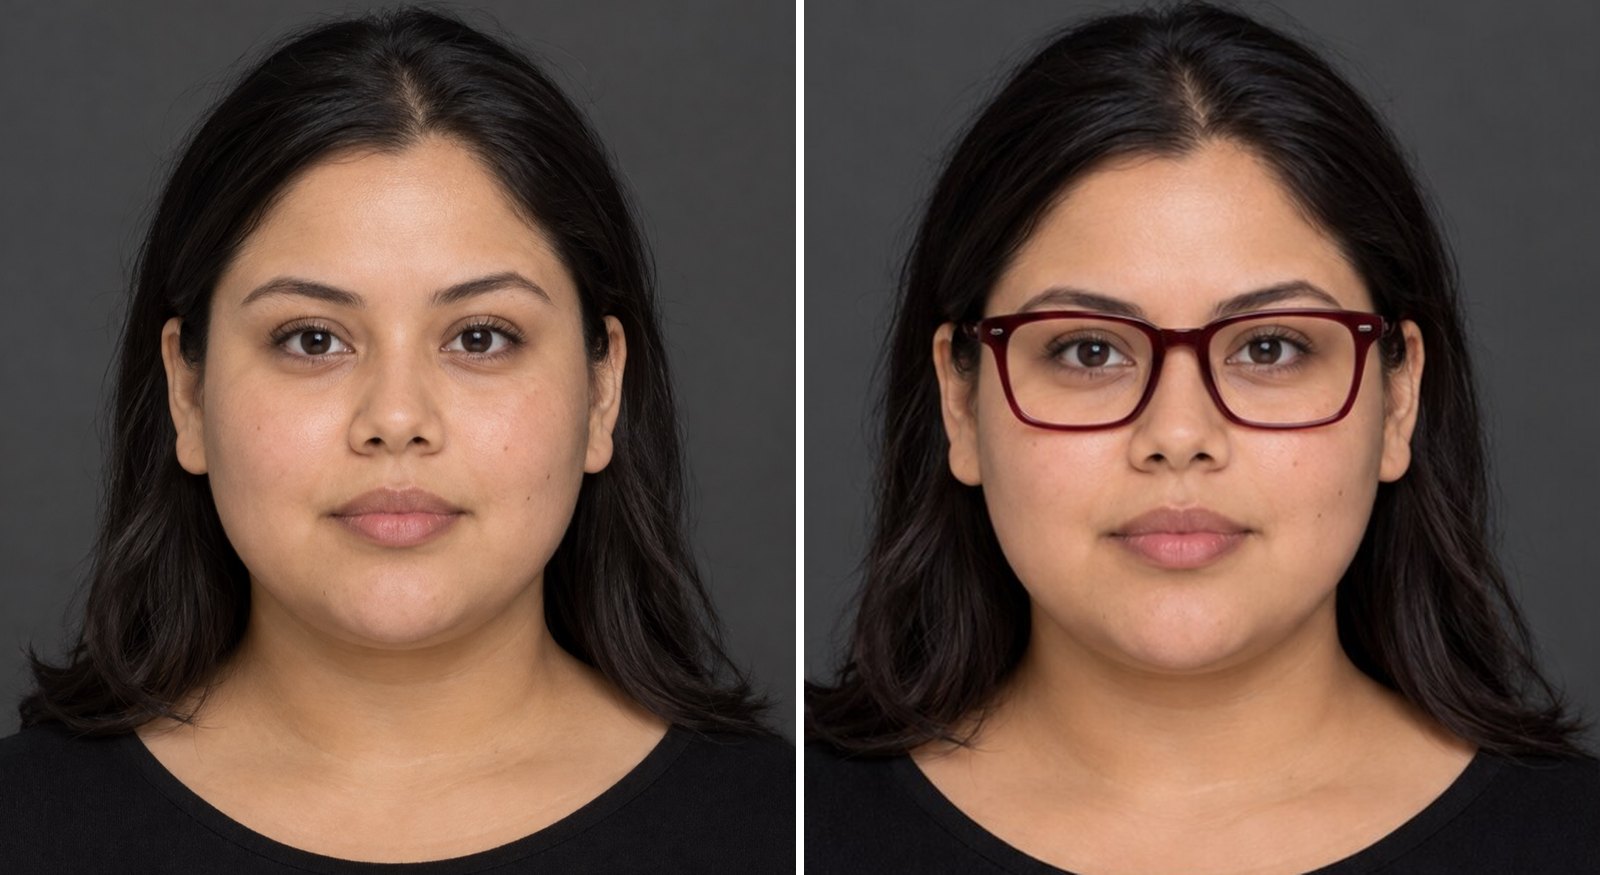
- Straight on: face the camera directly, not at an angle.
- Eye level: hold the phone level with your eyes.
- Hair off the brow: push hair back so your brow line shows.
- Even light: face a window or lamp, not a side light.
- No backlight: do not stand with a bright window behind you.
- Your glasses off: take off any current glasses first.
- Neutral face: skip the big smile.
- Plain background: fill the frame with your head and shoulders.


Try on sunglasses the same way
The same checklist works for sunglasses. Use even outdoor or window light, since sunglasses already sit over your eyes.
Read how sunglasses should fit after your render. The brow rule is different for sun lenses.
Photo vs live camera
A live camera is fast for a first pass through a catalogue.
- Light shifts: your room changes the colour on your face.
- Limited choice: most tools only cover their own frames.
A photo fixes the lighting and angle. You can study it as long as you like. See are virtual try-ons accurate? for more on why this matters.


Why a photo render beats a sticker
Most "try on with photo" tools paste a flat frame image over your photo. It never changes.
- No real light: the frame ignores your lighting.
- No shadow: nothing falls on your skin or cheek.
- Wrong angle: it sits off if your head tilts at all.
An AI photo render builds a brand new image instead. It matches your light, your skin, and your head angle.
- Real shadow: under the brow and on the cheek.
- PD: your pupillary distance, the space between your pupils.
- Face width and bridge: both read from the same photo.
- Face shape: read from the same photo or scan.
- 3D scan: a guided sweep on a Face ID iPhone.
- Selfie: works too, as a single upload.
One photo works with any frame source
A photo render is not stuck to one retailer's catalogue. SpecFit uses the same photo across the whole wall.
- The wall: 50 curated styles.
- A store link: paste it from any shop.
- A real pair: photograph frames in person.
- A TikTok video: share a clip of glasses you spot.
Get the photo right once. Every render after that stays accurate.
Prescription and progressive lenses
A render shows the frame's shape, not your prescription. It cannot show lens height on its own.
- Progressives: check minimum lens height.
- Frame picks: see best frames for progressive lenses.
- Your PD: confirm with is PD on my prescription?
Read virtual glasses try-on for more on how a render gets built.
One photo or one quick scan is all SpecFit needs. It shows the frame on your real face. Then it checks the size for you.

Questions
What is the best photo for a virtual glasses try-on?
A straight-on photo at eye level, in even light. Push your hair off your forehead. Take your own glasses off and keep a neutral face.
Can I try on glasses with a photo of my face?
Yes. One straight-on selfie is enough for most tools. A 3D face scan on a Face ID iPhone gives a more accurate result.
Why do glasses look fake in a try-on photo?
Most tools place a flat frame image over your photo. It ignores your lighting. It reads as a sticker, not a real fit.
Is it better to try on glasses with a photo or a live camera?
A live camera is faster for a first pass. A good photo stays steady, since the light and angle do not move.